[ad_1]
The Harbinger is the ultimate boss of Soulstice and one that can rework into a fair larger, more durable foe as the ultimate boss of your complete sport from chapter 24 into chapter 25. Here’s the right way to take him down and slay him for good!
How to Defeat the Two Harbinger Boss Fights in Soulstice
Round one
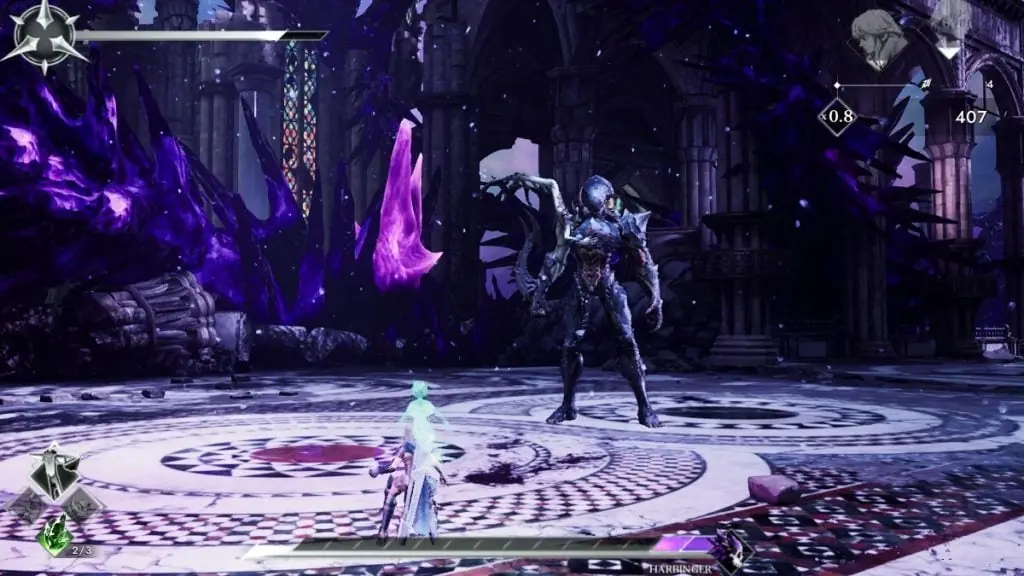
The first time combating the Harbinger is present in chapter 24. He comes with a purple bar like all the opposite more durable boss fights that has you needing to chip away at first earlier than with the ability to injury his HP pool. To do that, maintain your distance from him. Shoot him with the Hallowed Hunter when sustaining distance. Keep a glance out for when he overexerts himself as a result of he’ll stand nonetheless for just a few seconds. Roll or run straight to him as soon as he unleashes his strongest strikes that can goal you. Remember to make use of Lute’s gradual transfer with ‘B’ when confirmed visually as a result of you may be relying on it as soon as section two begins.
Harbinger’s transfer set will change into all of the extra chaotic after getting his well being beneath the center threshold. He will begin to unleash the exact same floating orbs that Nemesis attacked with that require the corresponding discipline colour from Lute to be lively to take down. Always purpose for these first with Harbinger due to his different assaults he carries out after sending these out. He stacks the identical transfer units so you’ll rapidly learn the way and when to dodge.
These particularly contain the orbs, sending power veins into the bottom that come up above the place Briar is and chases her, after which rapidly adopted up by three heavy swings of his blade that observe Briar. Keep your distance always when he’s doing these strikes, then run in the direction of him as quickly as he stops to soundly assault inside an in depth proximity earlier than he does the identical cycle. Rinse and repeat till you might have felled him for good.
Round two

The second time in combating the Harbinger is present in its remaining chapter of 25. The Harbinger has now been taken over utterly by Sir Donovan’s Shade, Hannah. This is the grand battle of Soulstice, with this second type of Harbinger being huge in dimension and taking on heart stage with the participant leaping on a number of floating platforms in a side-scrolling vogue.
To defeat her, maintain a watch out on her ever-evolving transfer set. She will battle together with her giant palms in her first stage. Her proper hand may have a blue crystal shard in it, requiring Lute to have her Evocation Field on to wreck it whereas her left hand has a purple crystal shard in it, so have her Banishment Field lively when attacking it. You’ll have to leap over when she swipes the platform and await her palms to be on the platform and idle to assault them. This is the one strategy to incapacitate her to focus on the shard in her abdomen. When she collapses and exposes it, go all in with whichever your most beefed-up weapon is at this level for max injury!
Her first section has her utilizing her fists solely. If she’s not attacking by slamming each fists down on the identical time, she will assault with just one fist coming down. This can generally be charged as much as generate purple veins from popping out and attacking in a number of paths when it connects to the platform. Be in a path that doesn’t have any strains of the veins on the bottom to keep away from injury.
Things get progressively trickier as soon as it’s important to down previous opponents resembling extra Wraiths and Possessed who can and can seem throughout her second section. You can cancel most of those out with well-timed ‘B’ tapping when the visible cue seems when Harbinger waves her fingers about. Remember to take out all of the targets while avoiding Harbinger’s assaults to extend Unity stage to unlock the potential to set off it for an all-out assault. This will assist to both convey down Harbinger’s purple barrier bar or her HP pool faster relying on if you set off it and unleash its Synergy assault.
She may even begin sending down purple arrows from above as indicated when a darkish circle seems within the sky. Simply dodge the shadows that seem on the platforms to keep away from injury from this transfer.
The remaining section of the Harbinger could make it even more durable when making an attempt to drag off profitable dodges, however there are alternatives accessible. She might be gradual when revealing her abdomen to unleash her deadliest assault that wipes out a whole platform with a large beam transfer. You might be respawned on a unique platform if she catches you out with it however tries to keep away from it by leaping to a different platform with the ‘A’ button when going to the nook of the platform being focused. You will nonetheless lose a piece of well being if you’re caught in its blast.
The beam will begin to chase you from every platform as soon as she is getting ready to defeat so maintain operating and leaping from the platforms till she stops this assault.
That’s all the things it’s good to learn about Harbinger! Good luck bringing her down and congratulations for doing so if you do!
Related: All Steam and Xbox achievements and the right way to obtain them in Soulstice
[ad_2]
Source link